Generating Videos with the HeyGen AI Tool
Creating Videos for a Company, Product, or Other Purposes with HeyGen AI. Exploring How the Editor Works, What’s Available for Free, and What Limitations Exist.
Introduction
In this article, we will try to generate a video using the HeyGen AI tool. Such a video is great for presenting a company, product, or any other purpose.
Signing Up
Go to app.heygen.com/signup to create a free account. You can sign up using an email address or log in with a Google or Apple account. After registering, you will need to choose a plan and answer a few questions.
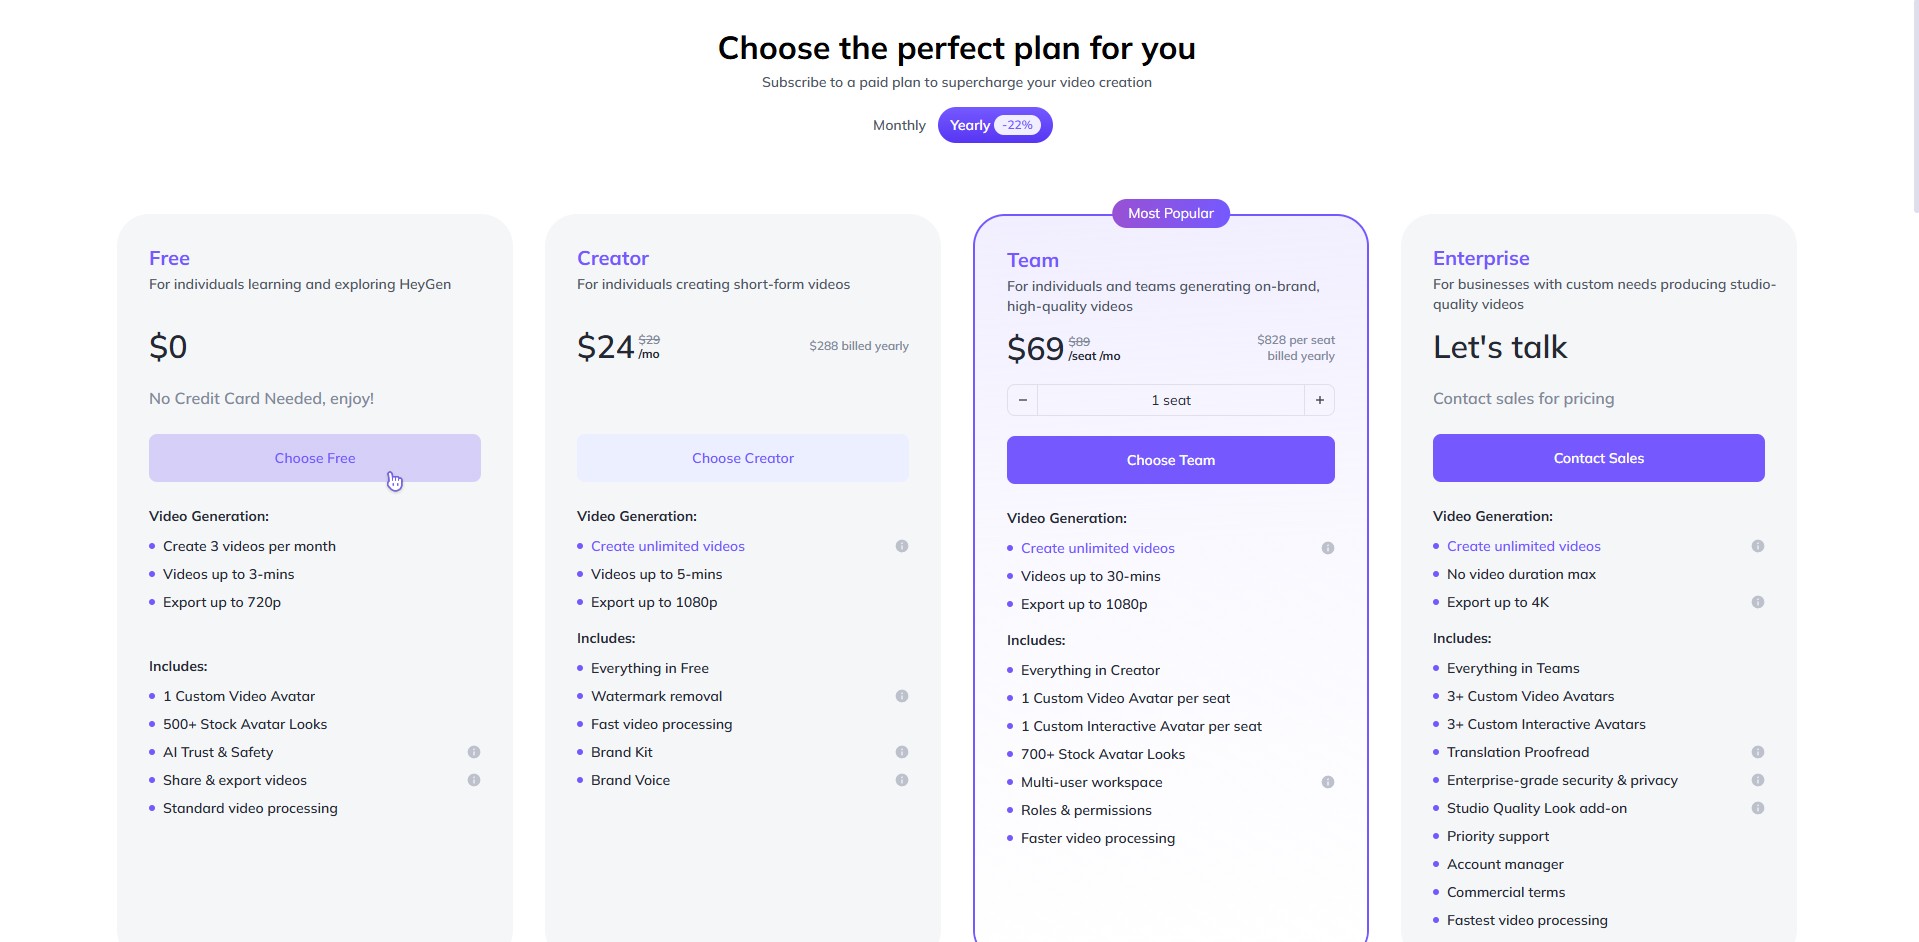
The free plan allows you to create up to three videos per month with limited functionality. Each video can be up to three minutes long, which is great for testing the tool or working on small projects.
Creating a Video
To get started, you’ll need an avatar (a digital character that will appear in the video). You can choose from pre-made options or create one from a photo. Click the "Create Video" button and select "Avatar Video."
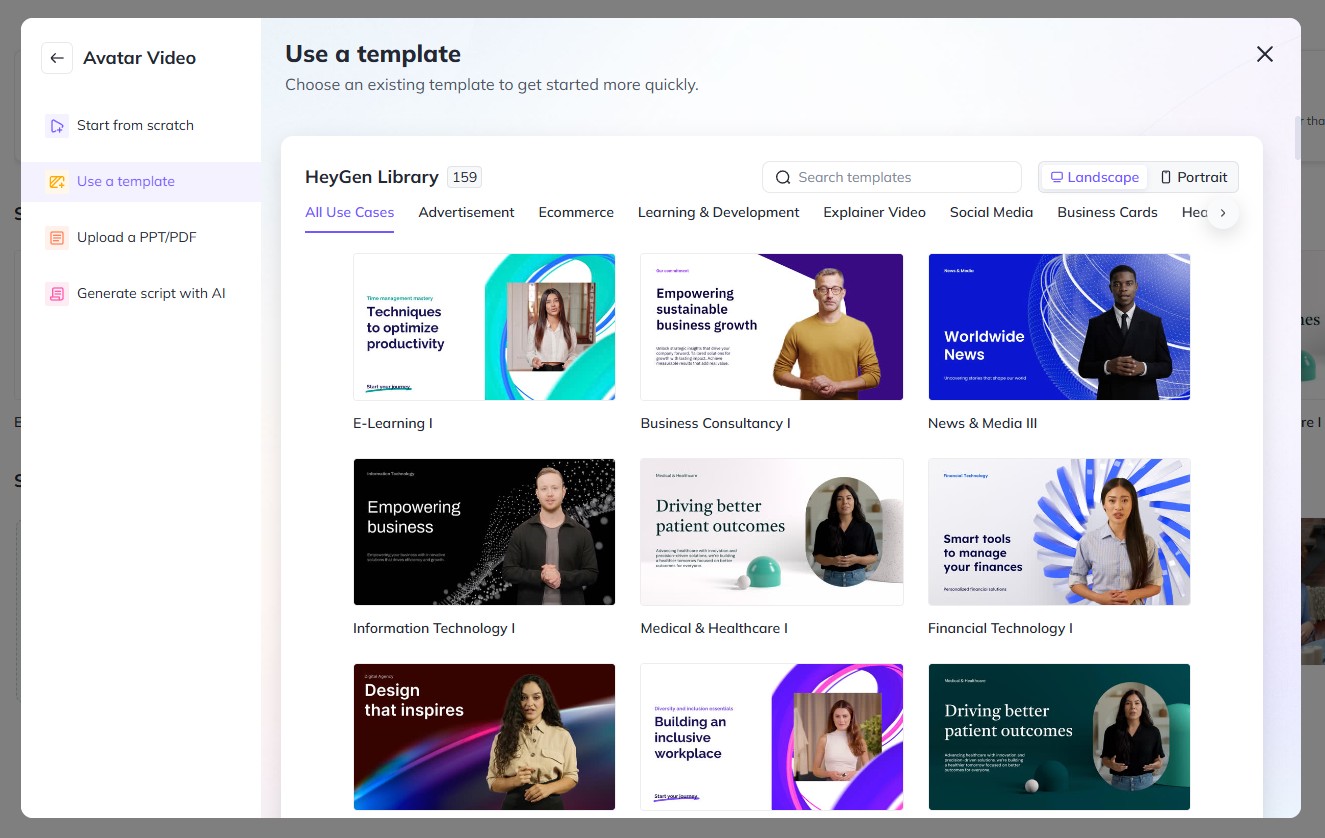
At this stage, you can select a template, start from scratch, or upload a PDF document. We will use the first option. After selecting a template, the full-featured editor will open, where we can continue working.
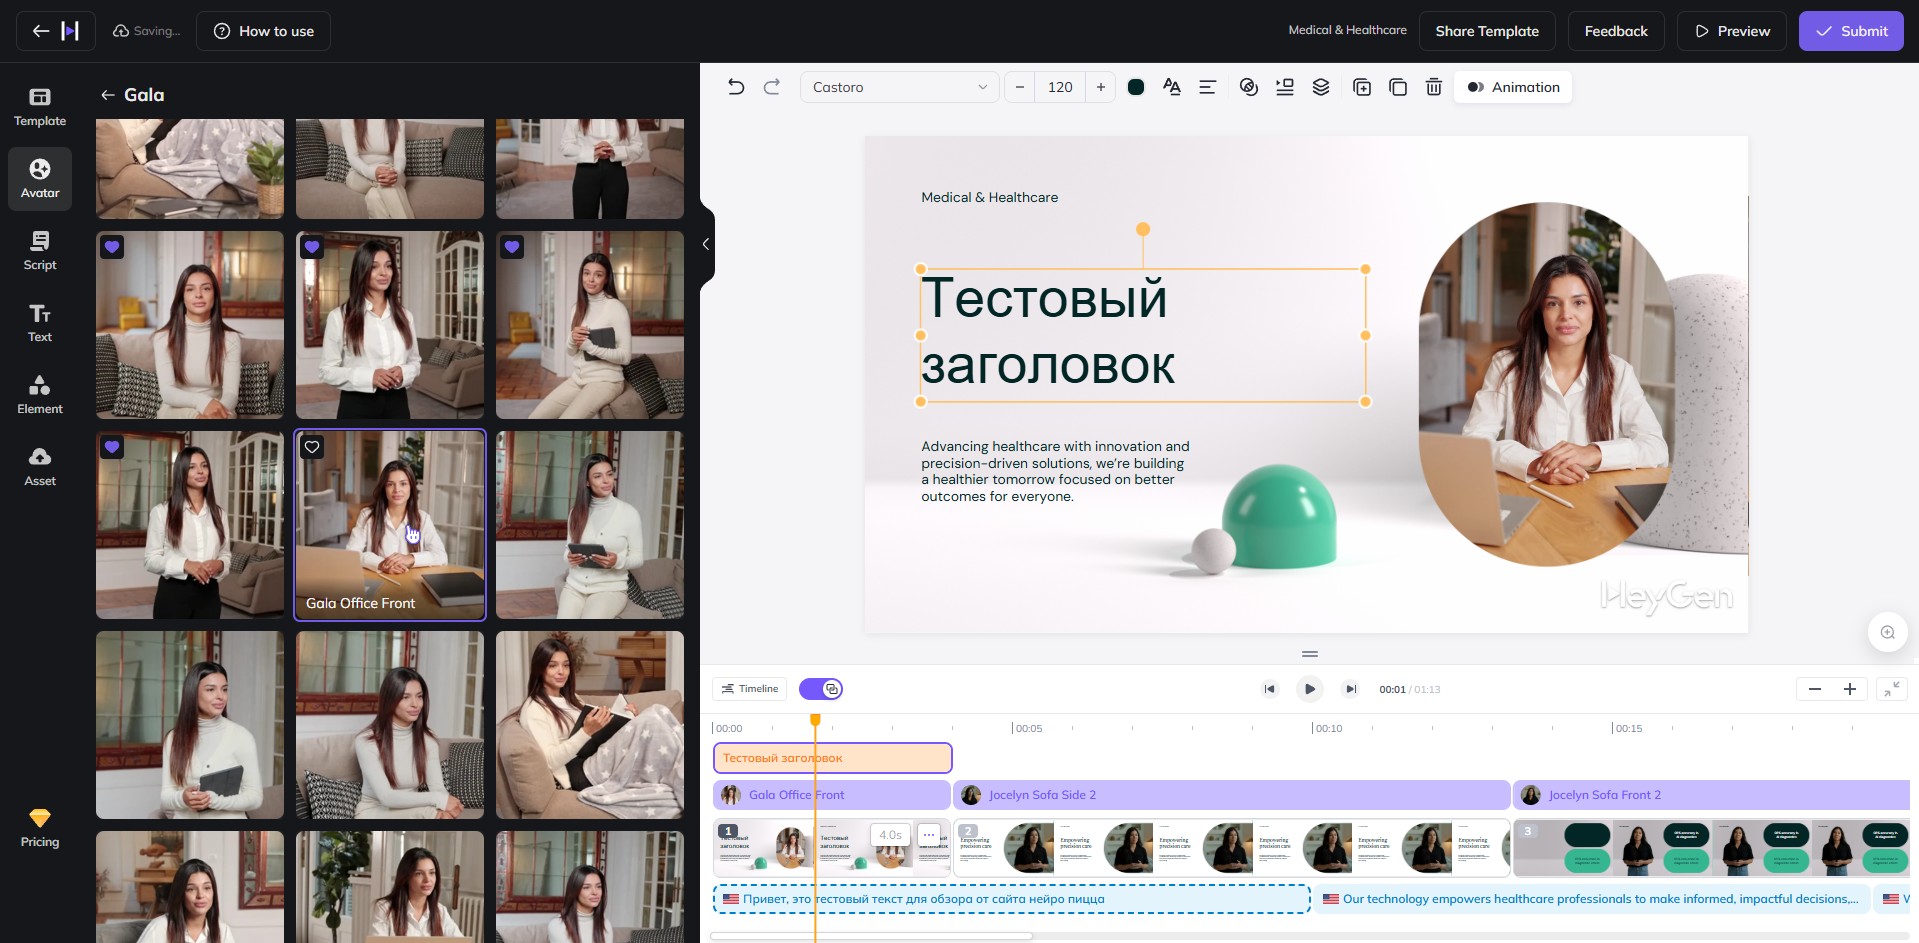
Editing the Video
The editor's sections are located on the left side of the interface. Let’s start with the text that our character will say. Click on the text at the bottom to quickly jump to the segment you want to edit.
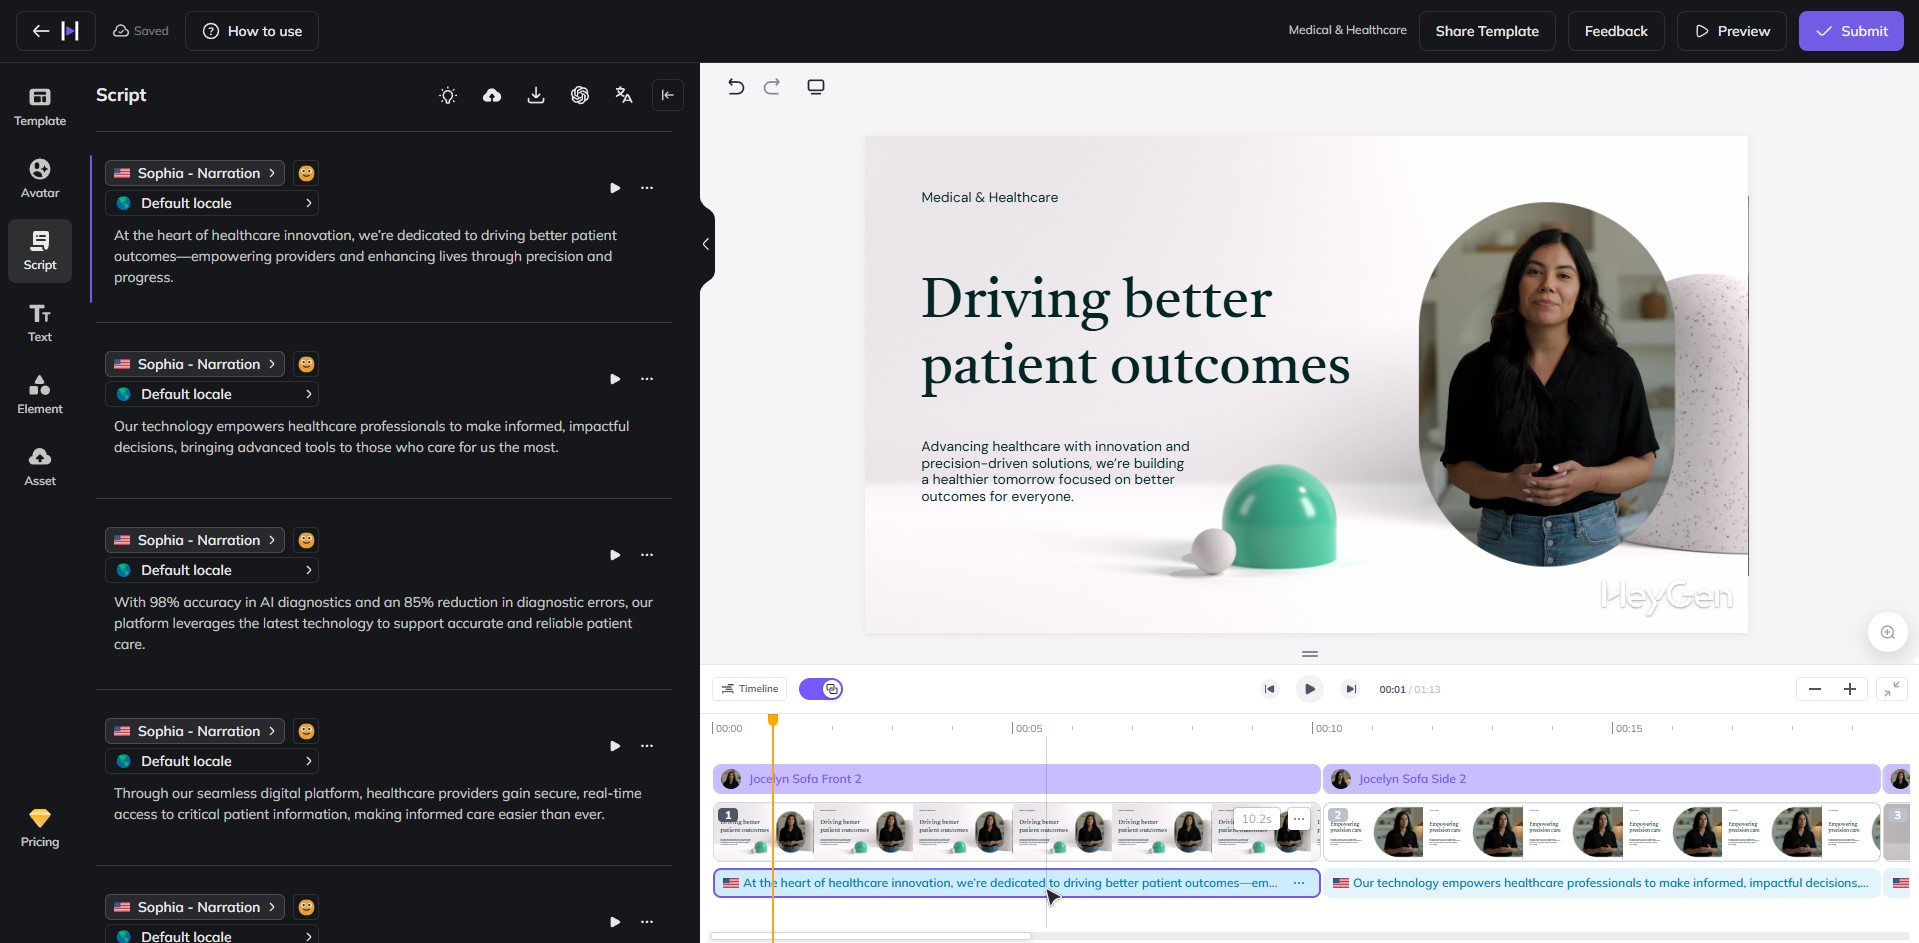
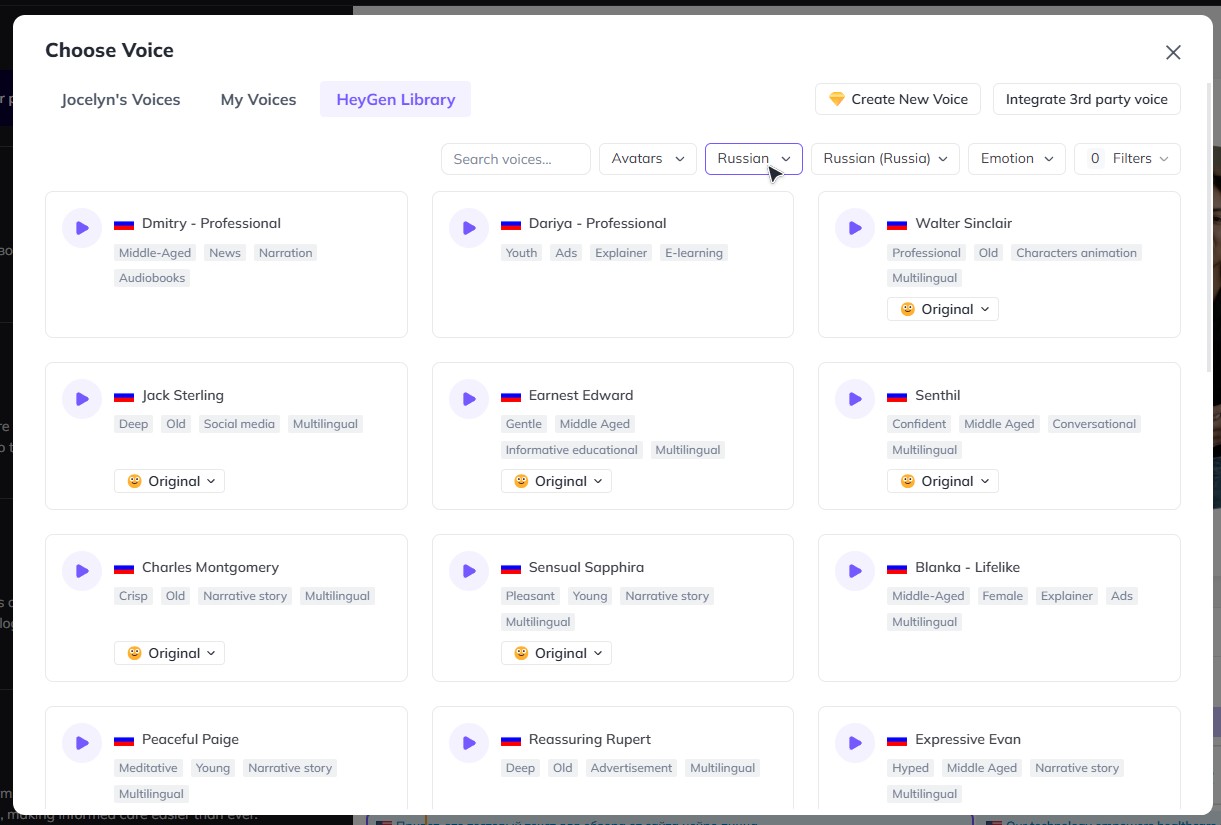
Now, simply type in the desired text. If you want your character to speak in a specific language, don't forget to change the voice. There are many male and female voice options available for different languages.
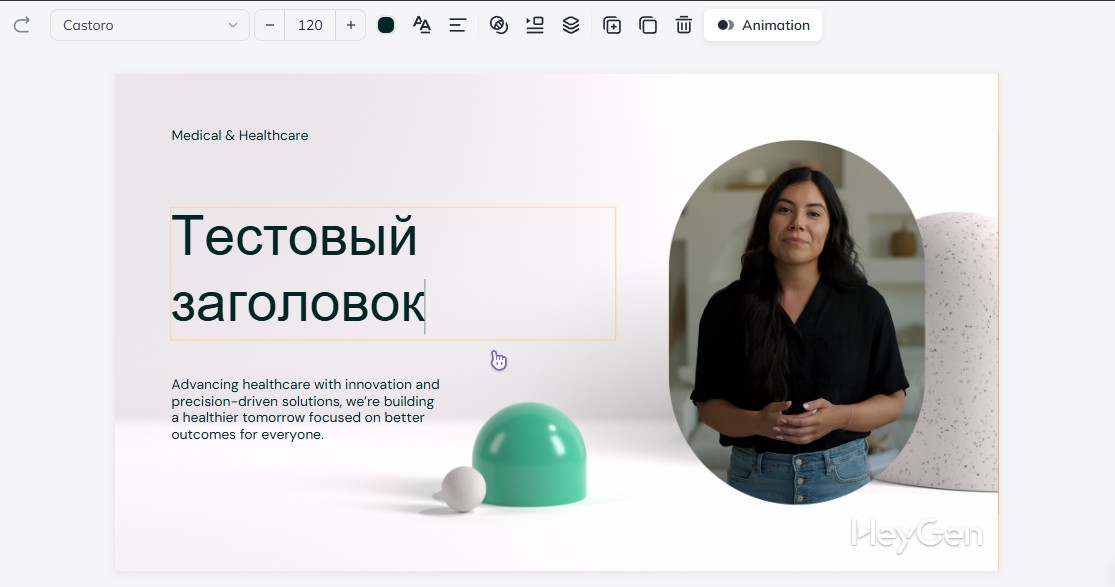
Editing Titles and Text in the Video
To change the text on the video, select the specific slide and then click on the text you want to edit. Keep in mind that while most fonts support different alphabets, not all of them do. You can adjust the text settings at the top of the interface.
Choosing a Character and Adjusting Elements
If you want to customize the video further, you can select a different avatar in the "Avatar" tab. Avatars must be chosen separately for each scene. For convenience, they are sorted into categories. You can modify shapes, colors, and other elements in the "Element" tab.
Reviewing and Saving the Video
Now that all text and settings are in place, you can preview the video, make final adjustments, and save it. You can play the video directly in the editor or use the shortcut Ctrl+Shift+P to preview it.

If everything looks good, save the video by clicking the purple "Submit" button in the upper right corner of the site. The free version downloads the video in 720p MP4 format with a watermark. Unfortunately, these limitations can only be removed with a paid subscription.
In conclusion, this AI tool is great for educational projects, and with a paid subscription, it can also be used for business purposes. The video quality is impressive, and the selection of templates, avatars, and voice options is quite extensive.